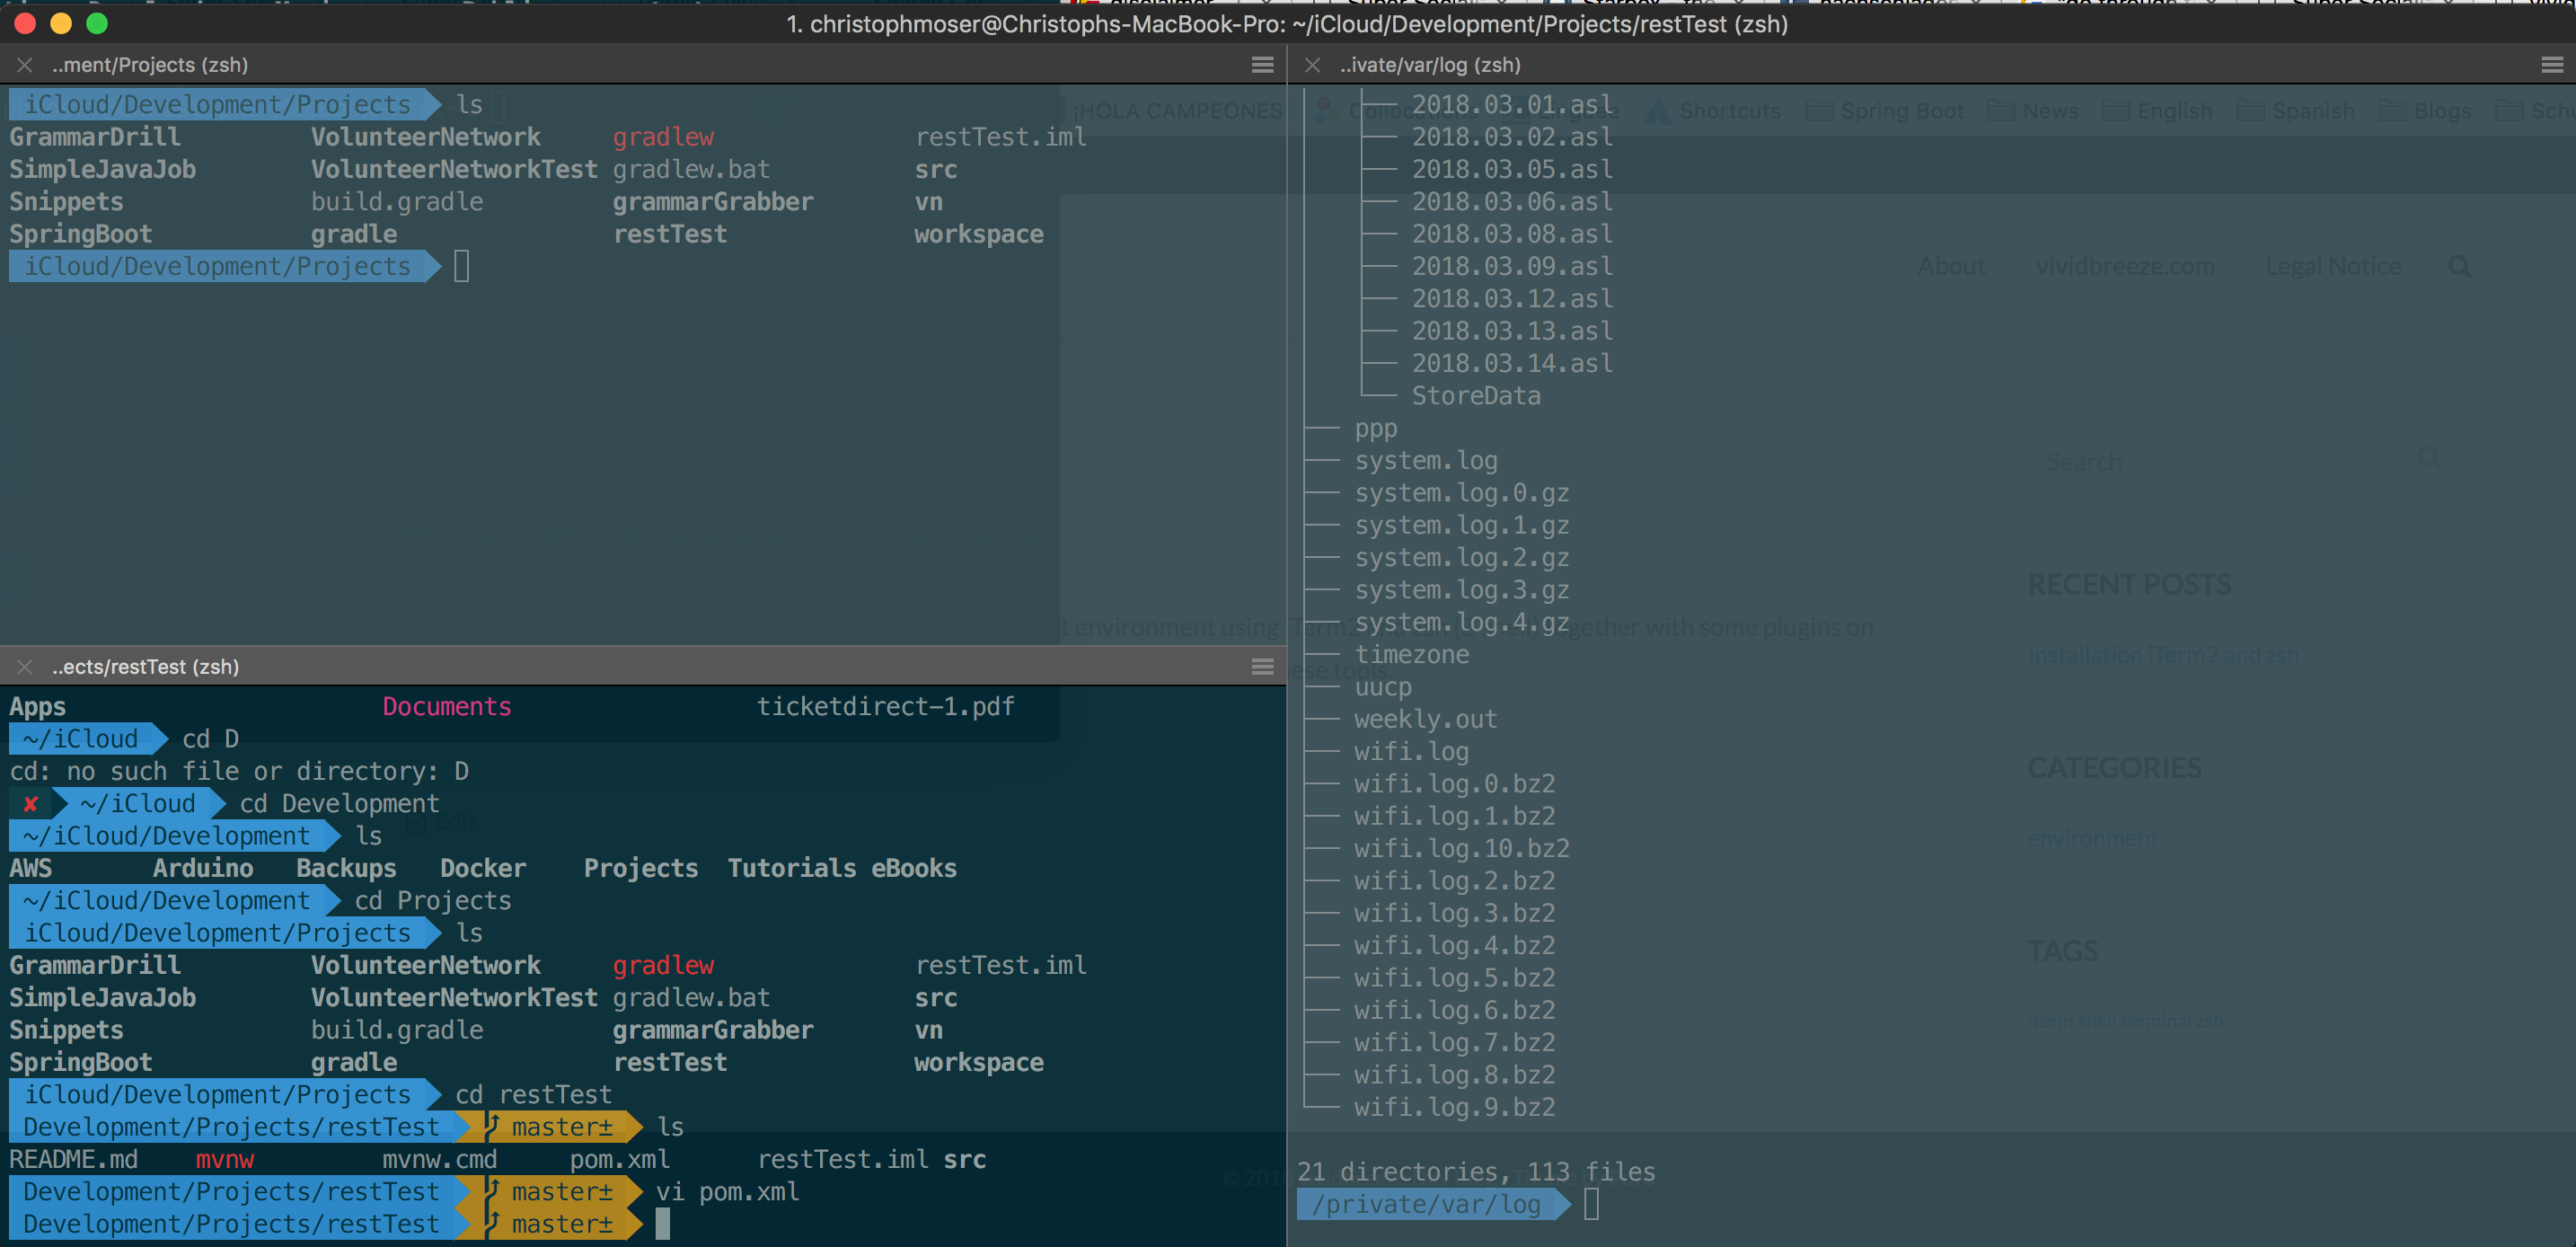
This article outlines how to install my preferred development environment using iTerm2 and zsh (Z shell) together with some plugins on MacOSX. It doesn’t go into much detail and describes a hands-on installation of these tools.
Install iTerm2
My favourite shell on the Mac is iTerm2. You can download it directly from the webpage or install it with brew:
brew cask install iterm2
Here you can find a comprehensive cheat sheet for iTerm2.
Install zsh
Next, I install (oh-my-)zsh as my preferred shell. on-my-zsh is a tool for managing the zsh configuration (themes, plugins). It is installed on-top of zsh.
brew install zsh zsh-completions
sh -c "$(curl -fsSL https://raw.github.com/robbyrussell/oh-my-zsh/master/tools/install.sh)"
Change the current shell to zsh using
chsh -s $(which zsh)
Use this cheat sheet or a more detailed look at the zsh commands.
Configure zsh
Configure the command prompt
Add or change the line following line in ~/.zshrc to make the command prompt a bit shorter
DEFAULT_USER=$USER
or
DEFAULT_USER=`whoami`
Install the agnoster or cobalt2 Theme
I use the agnoster theme with zsh. The theme already comes with zsh. Alternatively, you can download agnoster.zsh-theme to ~/.oh-my-zsh/themes/.
Edit ~/.zshrc and change
ZSH_THEME="agnoster"
Alternatively, you can use the similar cobalt2 theme, which doesn’t come with zsh. Here you have to install cobalt2.zsh-theme manually to ~/.oh-my-zsh/themes/.
ZSH_THEME="cobalt2"
Install the Power Patched Font
For the agnoster theme, you need to install the power patched font
git clone https://github.com/powerline/fonts.git --depth=1

cd fonts

./install.sh

cd ..

rm -rf fonts
Then change the font and the font-size in iTerm to the powerline fonts (Meslo 14pt).
Install the git plugin
The git plugin for zsh already comes with the zsh installation. Use an editor to edit ~/.zshrc and add (or remove the #)
plugins=(
   git
)
- iTerm2 and zsh - 14/03/2018

3 Comments
Comments are closed.